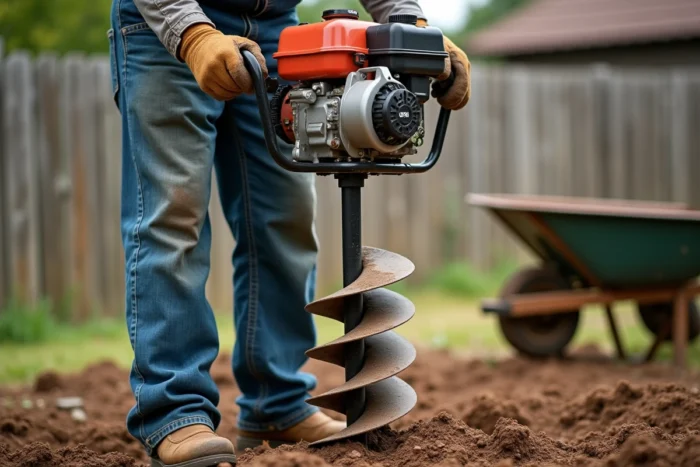
On a a construction site with clay soil, the thermal auger can save you two hours or cost you three if the ground has not been prepared. The difference between smooth drilling and a bit that gets stuck after twenty centimeters rarely comes down to the power of the motor.
It depends on what has been done before pulling the starter, and on how each pass is managed once the drilling has started.
Preparing the ground before drilling: the step that no one describes
When working with dry and compact soil, especially clay, the bit encounters resistance that causes jolts, rapid overheating, and sometimes a complete blockage. Watering each location the day before drilling radically changes the situation.
One watering can per hole is enough to soften the first twenty to thirty centimeters of soil. The next day, the bit enters easily into this softened layer, and the soil rises well along the spiral instead of compacting around the shaft. On sandy or loose soil, this step is unnecessary, but on clay or compacted fill dirt, it avoids half of the common problems.
Before watering, it is also important to locate buried networks. A phone call to the network cadastre consultation service or a simple check of the plot plans can prevent drilling into an electrical conduit or a gas pipe. Knowing how to easily dig the ground with an auger starts with this precaution, well before touching the machine.
Short pass technique to avoid bit blockage and overheating
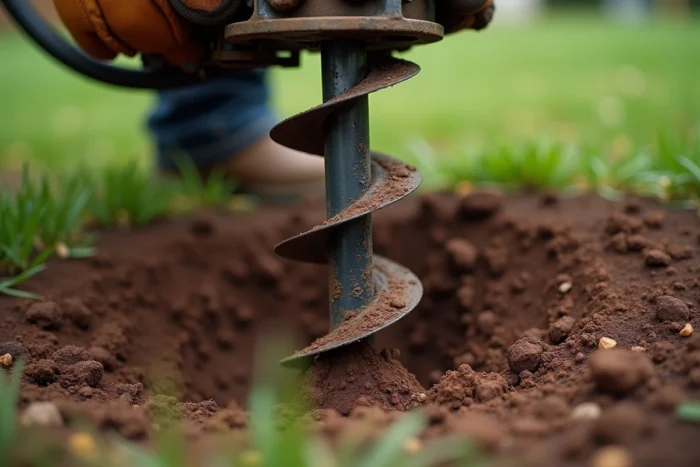
The most common mistake is to push the bit down in one go to the desired depth. In even moderately compact soil, the earth accumulates on the spiral, the motor strains, and the auger can get stuck by pivoting on itself, pulling the operator along.
Work in layers of fifteen to thirty centimeters. With each pass, fully retract the bit to allow the soil to escape. This method of successive passes has become standard on post installation sites because it preserves the motor and results in a cleaner hole.
Managing stones and roots during drilling
When the bit hits a stone, you can feel it immediately in the handles: dry vibrations, loss of rotation. The correct reaction is to retract the bit, clear the stone by hand or with a pry bar, and then resume drilling. Forcing by accelerating the motor only wears down the bit’s teeth and risks cracking a spiral.
For roots, a wide-pitch spiral bit easily cuts through small roots. Roots larger than one centimeter in diameter should be cut with pruning shears before restarting the auger. Feedback on this point varies, with some operators preferring a bit with reinforced teeth, but manual cutting beforehand remains the safest method for the machine.
Choosing the bit according to the type of hole and soil
Not all bits are suitable for all uses. The two main families provided with most thermal augers meet distinct needs:
- The spiral bit, shaped like a screw, is designed for deep holes in loose to moderately compact soil. The wider the pitch, the better the soil rises and escapes during drilling.
- The heart-shaped bit is designed for hard, stony, or very clayey soils. Its geometry concentrates the penetration force on a central point, making it easier to start the hole.
- For planting shrubs in series, a reduced diameter and standard length are preferred. For fence or pergola posts, a larger diameter is often required, typically double.
Adapting the diameter of the bit to the intended hole may seem obvious, but many users drill too wide “as a precaution,” which makes the work heavier and weakens the ground around the post.
Maintenance of the thermal auger after each use
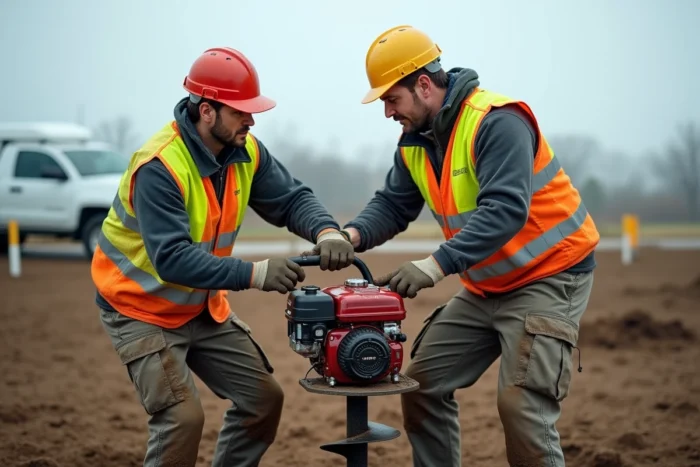
A poorly maintained thermal auger loses efficiency as early as the second use. Cleaning the bit after each drilling session is essential: dried soil on the spiral creates an imbalance that generates vibrations and wears out the bearings.
Points to systematically check after use:
- Clean the bit with water and brush the teeth to remove soil and root debris
- Check the tightness of the bit on the drive shaft, as drilling vibrations gradually loosen the fastening system
- Check the air filter of the motor, which clogs quickly when working close to the ground in dust
- Drain the tank if the machine will not be reused in the following weeks, to prevent the carburetor from clogging due to stagnant fuel
Sharpening and replacing bit teeth
The cutting teeth at the bottom of the bit gradually dull, especially in stony soil. Dull teeth force the motor to work harder, increase fuel consumption, and make drilling imprecise. Sharpening with a file or grinder after each heavy work session significantly extends the lifespan of the entire unit.
When the teeth are too worn to be sharpened, they can be replaced individually on most models, without changing the entire bit. Checking the availability of spare parts before purchasing a thermal auger prevents ending up with an unusable machine after one season.
Clean and quick drilling with a thermal auger relies less on the engine displacement than on three habits: preparing the ground in advance, working in short passes, and maintaining the bit and filter after each use. These simple actions transform a tool that is sometimes feared into a reliable ally, whether for ten fence holes or a series of plantings in challenging terrain.